@DayTradingDad
·9/5/2026GC1!LONGunspecified
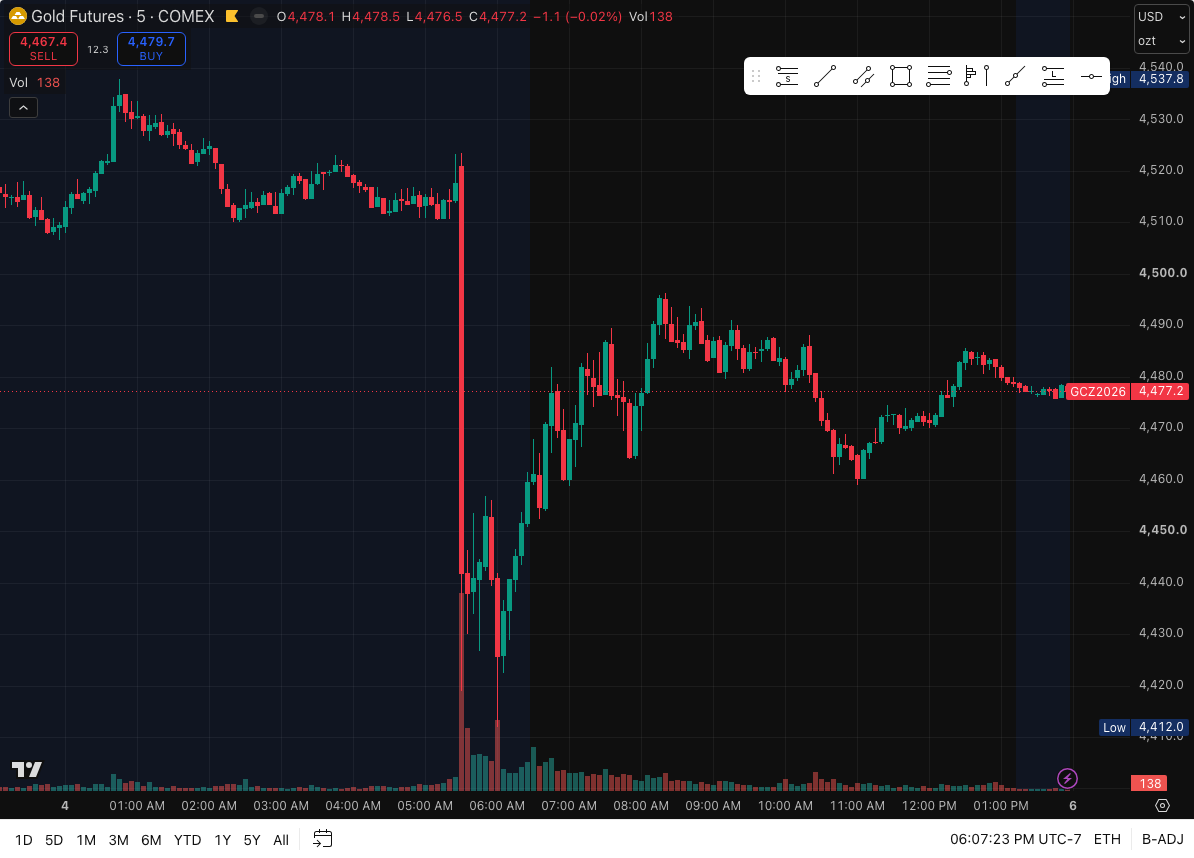
Entry
2650
Stop
2630
Target
2690
R:R
1:2.0
Reasoning
GC1! printed a clean long signal — 13 EMA reclaim/loss from within the demand zone. All three EMAs were aligned (13 EMA > 50 EMA > 200 EMA), confirming trend direction before entry. Stop placed at the zone boundary (20.00 pts of risk), target set for 1:2.0 reward:risk (40.00 pts). Fully rule-based entry — no discretionary override.
AI Analysis
The trade has a solid mechanical foundation with EMA alignment and a demand zone entry, but critical information is missing: no timeframe specified makes it impossible to assess whether this setup is appropriate for the instrument's volatility or the trader's strategy. The 20-point stop and 40-point target are mathematically sound (1:2 R:R), but without knowing the timeframe, we cannot evaluate if these levels are realistic or if the setup has genuine confluence. The reasoning is clear and rule-based, which is a strength, but the execution lacks the contextual detail needed for full confidence.